The final day of the walkthrough is here! If you missed the previous posts, click the following:
Part 1
Part 2
Part 3
 This time we will be assembling the three parts. Here we go.
If you are using a directional print, the seamline in the middle makes it even easier to line up your card pockets. The seam down the middle of the cards will match where the seam is on the outer when you fold the side flaps over, like below.
 Sew the sides using a thread to match the outer fabric both on the spool and in the bobbin. It’s starting to make sense now!
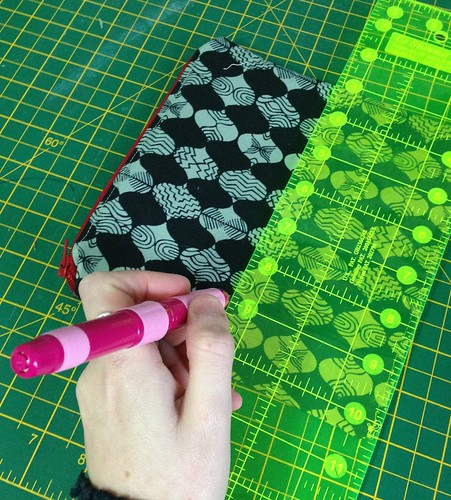
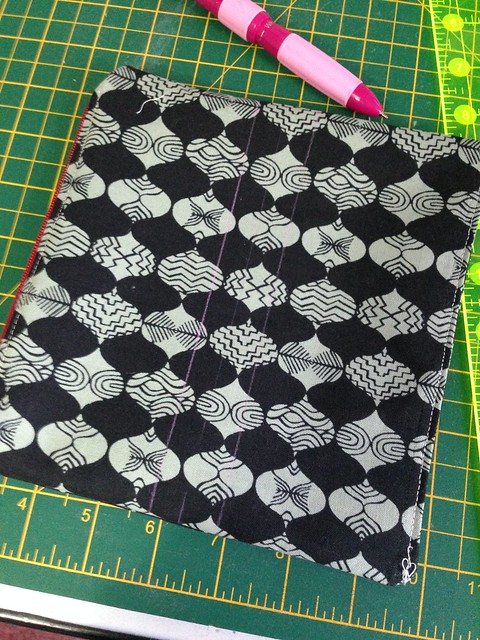
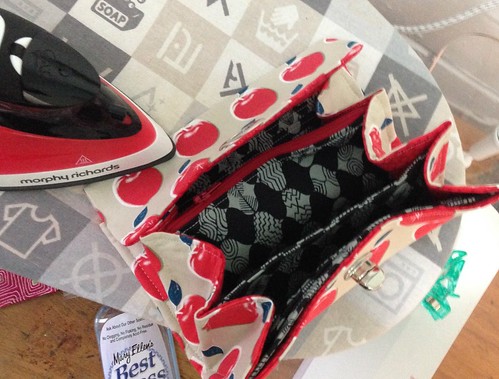
 I found drawing guidelines on the zip pocket was easier to do first before introducing it to the body piece. The pocket is 7″ high so I drew a line 3 1/2″ from the bottom to mark the centre, and then 1/2″ either side as per the instructions. The centre line is useful for positioning, you can match this to the card section seam.
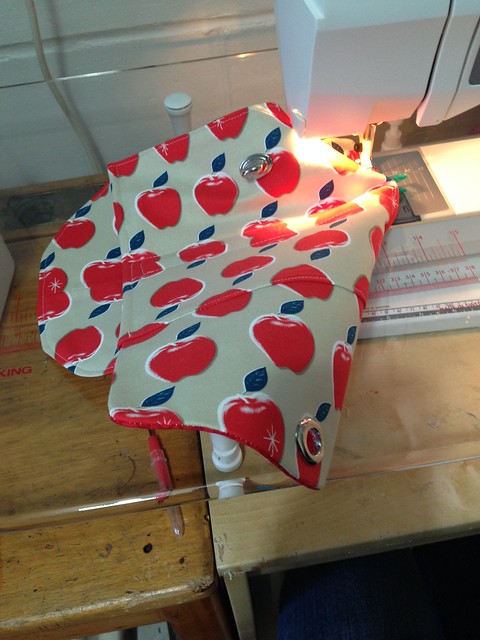
 Follow the instructions through to the side seams bit. Make sure when you do your rectangle your top thread matches the inside and the bobbin matches the outside of your bag, then switch back to the top/spool thread matching the outer. Sewing the rectangle closes up the zip pocket lining too. Here’s some photos of how the side seams come together and how I wedged it into my machine. The stitches do not have to go all the way down the sides, just enough to catch it- an inch or two. I sewed it by section rather than my side.
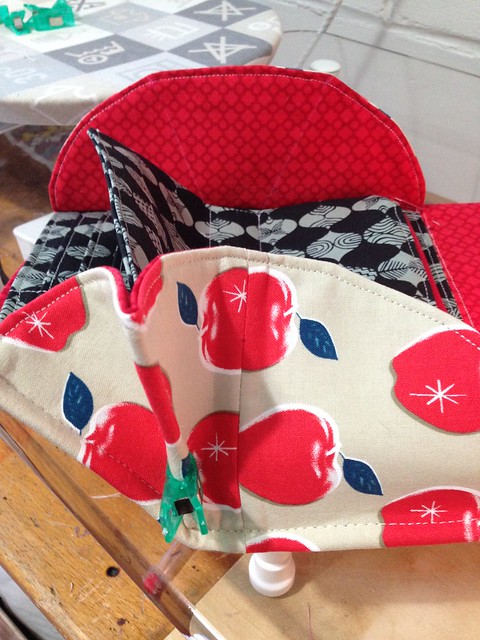
 I start/end the stitching at the top stitched line for neatness. My machine was being a bit obnoxious at this point but you get the idea.
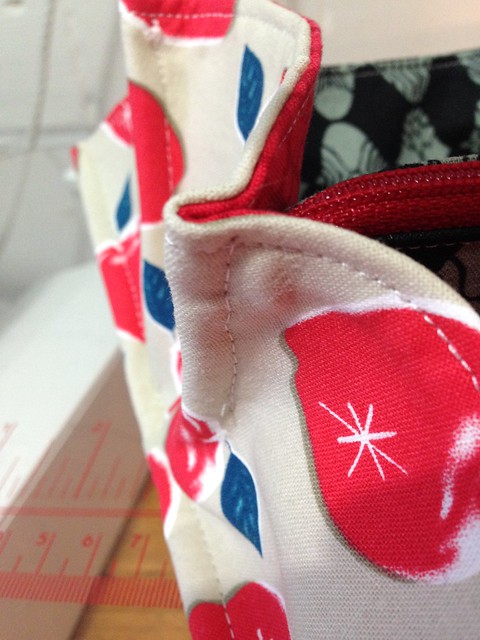 Make sure you give it a good press front and back and where the flap folds once complete to keep the shape.
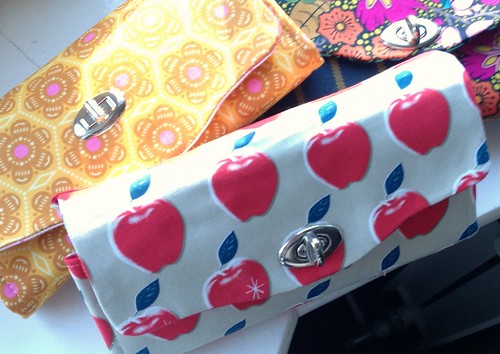
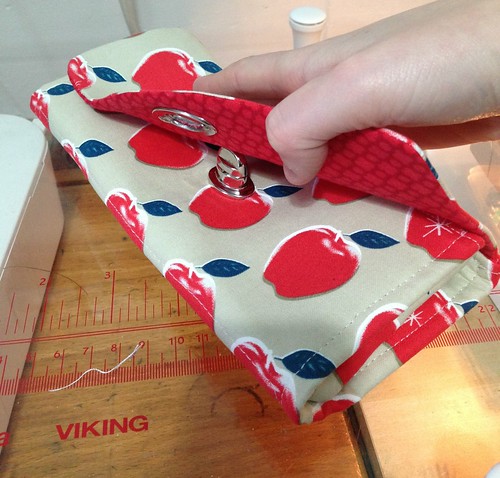
 A problem I found was that they seem a little bit baggy when the locks are closed, almost as if the lock needed to be located lower down. I found it to be like this on all three of mine, so I think next time I will position it another 3/4″ towards the centre when positioning it. See where I think it should be?
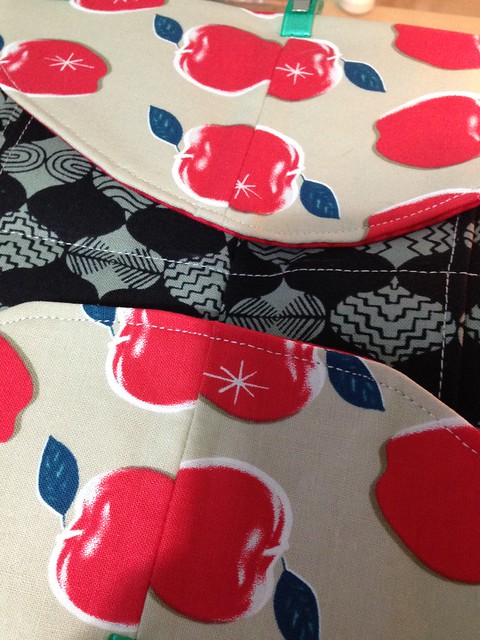
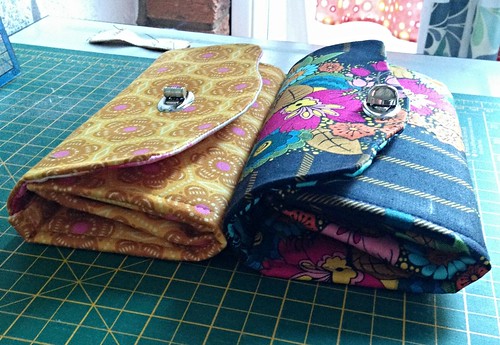
 So when I did the yellow one, I positioned the hole last as planned, and added it much higher up to compensate. It looks weird (which is why the placement of the sticky-out bit of the clasp would be better at the start) but look at the difference to the other one that I did the normal way…
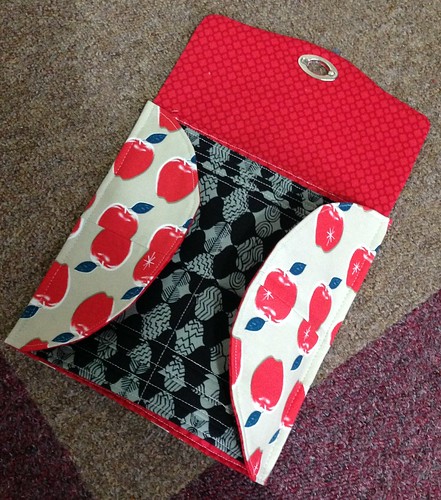
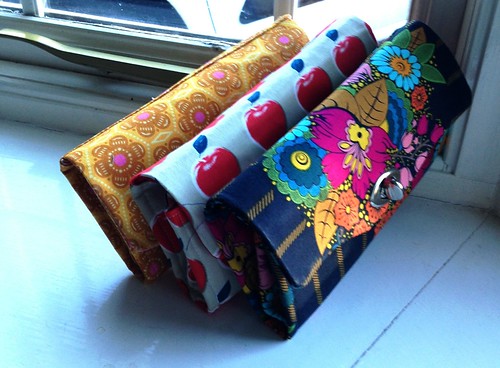
 I think if you’re using it as a clutch then the original fastening placement gives you a bit more room for a phone, etc. If you plan to use it solely for money, you might want to try the repositioning of the clasp for a slimmer shape. If you do, let me know how it goes!
WIN WIN WIN!!!
![]()
So the linky party! The way WordPress works, I’m not able to show you all of the lovely NCWs entered on the page itself, however click through below to see the entries and to enter yourself!

As a reminder the prize generously donated by Janelle at Emmaline Bags is a $20CAD gift certificate to spend on hardware in her shop and also a free PDF pattern of your choice. I think if I won (and I can’t!) I’d pick the Manhattan Bag and spend the voucher on strap hardware and zips in order to make it!
You have until 11pm on 10th December 2015 UK (GMT) time to enter, simply upload a picture of your Necessary Clutch Wallet and that’s all you need to do! If you need the pattern, you can get it from Patterns to Print here. I’m looking forward to seeing all your entries!

I found this very helpful! I’ve finished my first NCW now YAY!!
How do I upload a photo?
LikeLike